
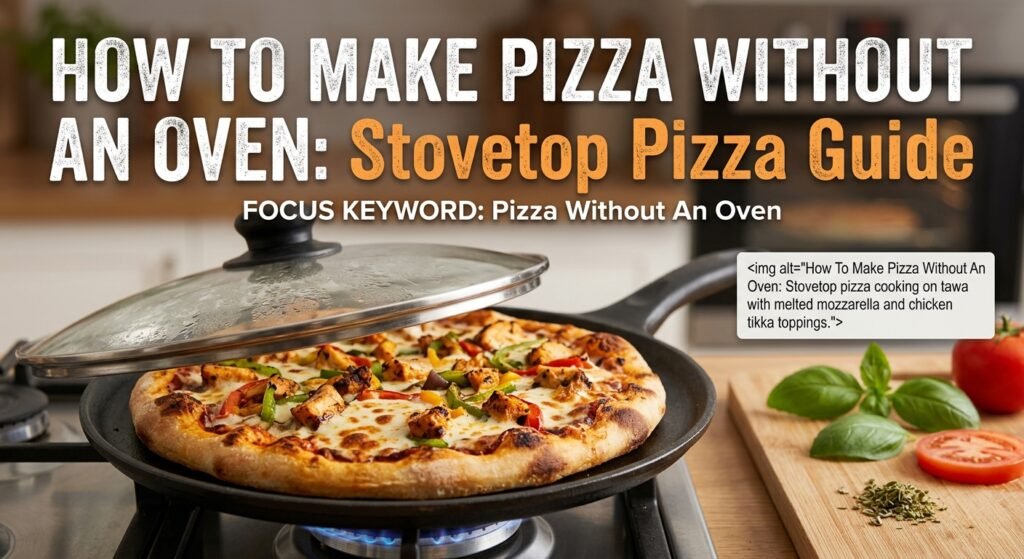
How To Make Pizza Without an Oven
When a pizza-without-an-oven situation happened, it used to feel like a dealbreaker whenever pizza cravings hit. I remember thinking that was the way: no oven meant no homemade pizza, end of story. Turns out that is completely wrong, and honestly, once you try making pizza without an oven on a tawa or a regular skillet, you might not even miss the oven that much.
This method has been popular for years in homes that do not have ovens built in. It works surprisingly well. Here is the full breakdown in simple steps.
Why Stovetop Pizza Actually Works
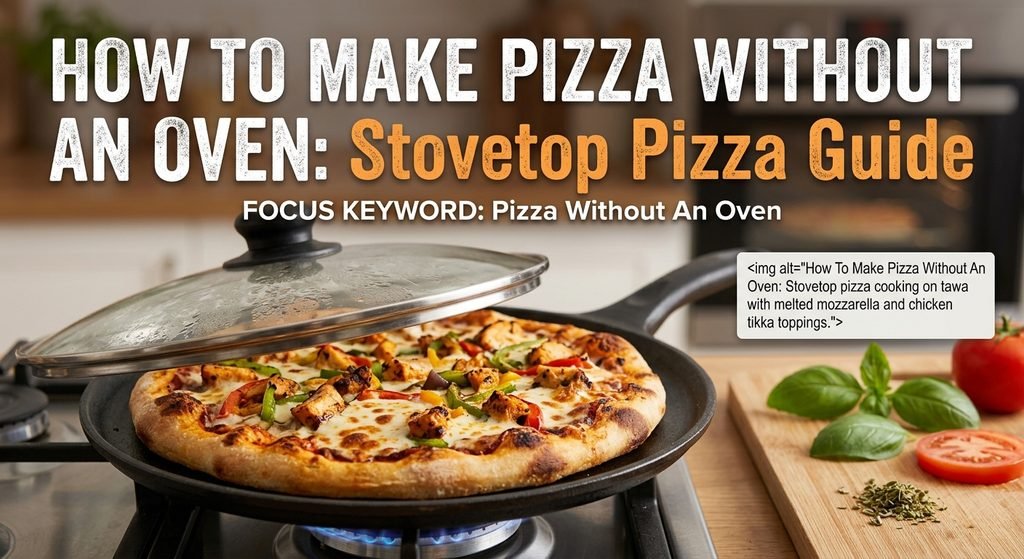
A tawa or a heavy flat skillet holds heat well. Spreads it evenly, which is basically what an oven does too, just from below instead of all around. Cover the pan while it cooks, and that trapped heat melts the cheese and cooks the toppings the same way an oven would. You lose a bit of that crispy oven‑baked edge, but you gain something else: speed and zero preheating time.
What You’ll Need
- Pizza dough, store-bought; both work fine
- Pizza sauce or plain tomato sauce with a pinch of oregano
- Shredded mozzarella cheese
- Your choice of toppings; chicken tikka pieces work especially well for a spiced, flavorful version
- A flat pan or tawa with a lid that fits it
- A little oil or ghee to grease the pan
Step By Step: How To Make It
Step 1: Get your dough ready.
If you are using store-bought dough, just let it sit at room temperature for a few minutes so it is easier to roll out. If you are making it from scratch, a flour, yeast, water, and salt dough works fine; just give it time to rise properly before rolling.
Step 2: Roll it out to fit your pan.
Roll the dough into a circle the same size as your tawa or skillet. Do not roll it thin, or it will dry out fast once it hits the heat.
Step 3: Heat the pan first.
Place your tawa or skillet on medium heat for a couple of minutes before adding anything. This matters more than people think; a heated pan gives you a better base instead of a soggy one.
Step 4: Add a little oil, then the dough. Lightly grease the pan, then lay the rolled dough flat on top. Let it cook on low to medium heat for a couple of minutes until the bottom starts to firm up slightly.
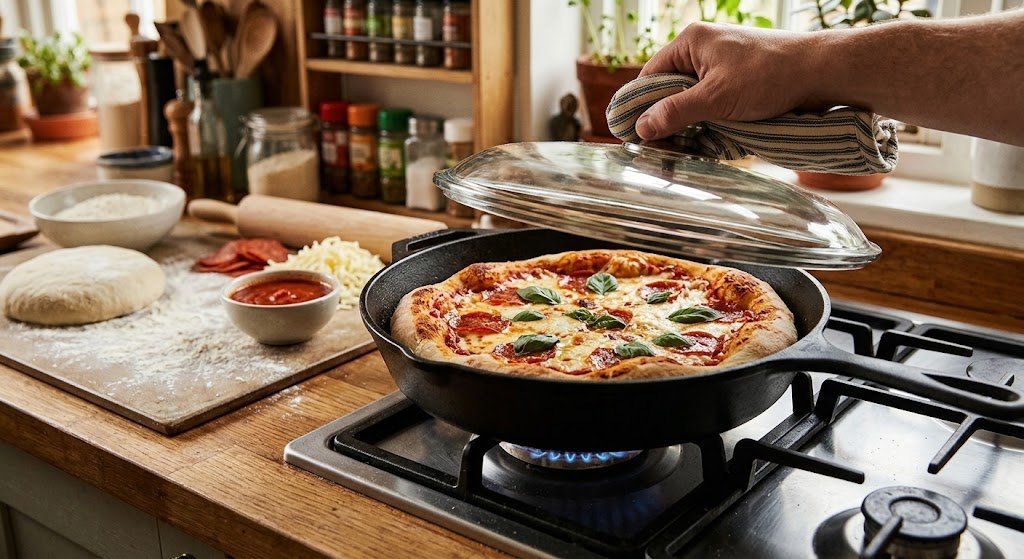
Step 5: Flip it, then load up your toppings. Once the bottom side looks lightly cooked, flip the dough over. Spread your sauce, add the cheese, then layer on your toppings. If you’re making a chicken tikka version, pre-cooked spiced chicken pieces work best here since raw chicken won’t fully cook through in time.
Step 6: Cover and let it cook low and slow. Put the lid on and lower the heat. This is the most important part; low heat with the lid on lets everything cook through and melt properly without burning the bottom. This usually takes somewhere between eight and twelve minutes depending on your stove.
Step 7: Check, then serve. Once the cheese is fully melted and the edges look golden, it’s ready. Slice it up and serve immediately while everything is still warm and gooey.
A Few Tips That Actually Make A Difference
- Keep the heat low once the lid goes on; high heat will burn the base before the top even finishes cooking.
- Don’t overload it with toppings. Too much weight on top slows down the cooking and can leave you with a soggy center.
- If your pan doesn’t have a lid, any oven-safe bowl or a larger pot lid works as a substitute.
- Pre-cooking heavier toppings like chicken or vegetables ahead of time helps them cook through properly in the shorter stovetop cooking window.
Why This Method Is Actually Worth Keeping Around
Even if you do have an oven, this method comes in handy more often than you’d expect. No waiting for a preheat, less cleanup, and honestly, the smoky flavor you get from a hot tawa has its own charm that an oven doesn’t quite replicate. It’s quick, it’s simple, and once you get the timing down, it becomes second nature.
Homemade pizza was never really about having fancy equipment in the first place. It’s about a hot pan, good toppings, and a little patience while everything melts together.
If you want to make pasta, here is the recipe link
